How to add license to AdminApp user?
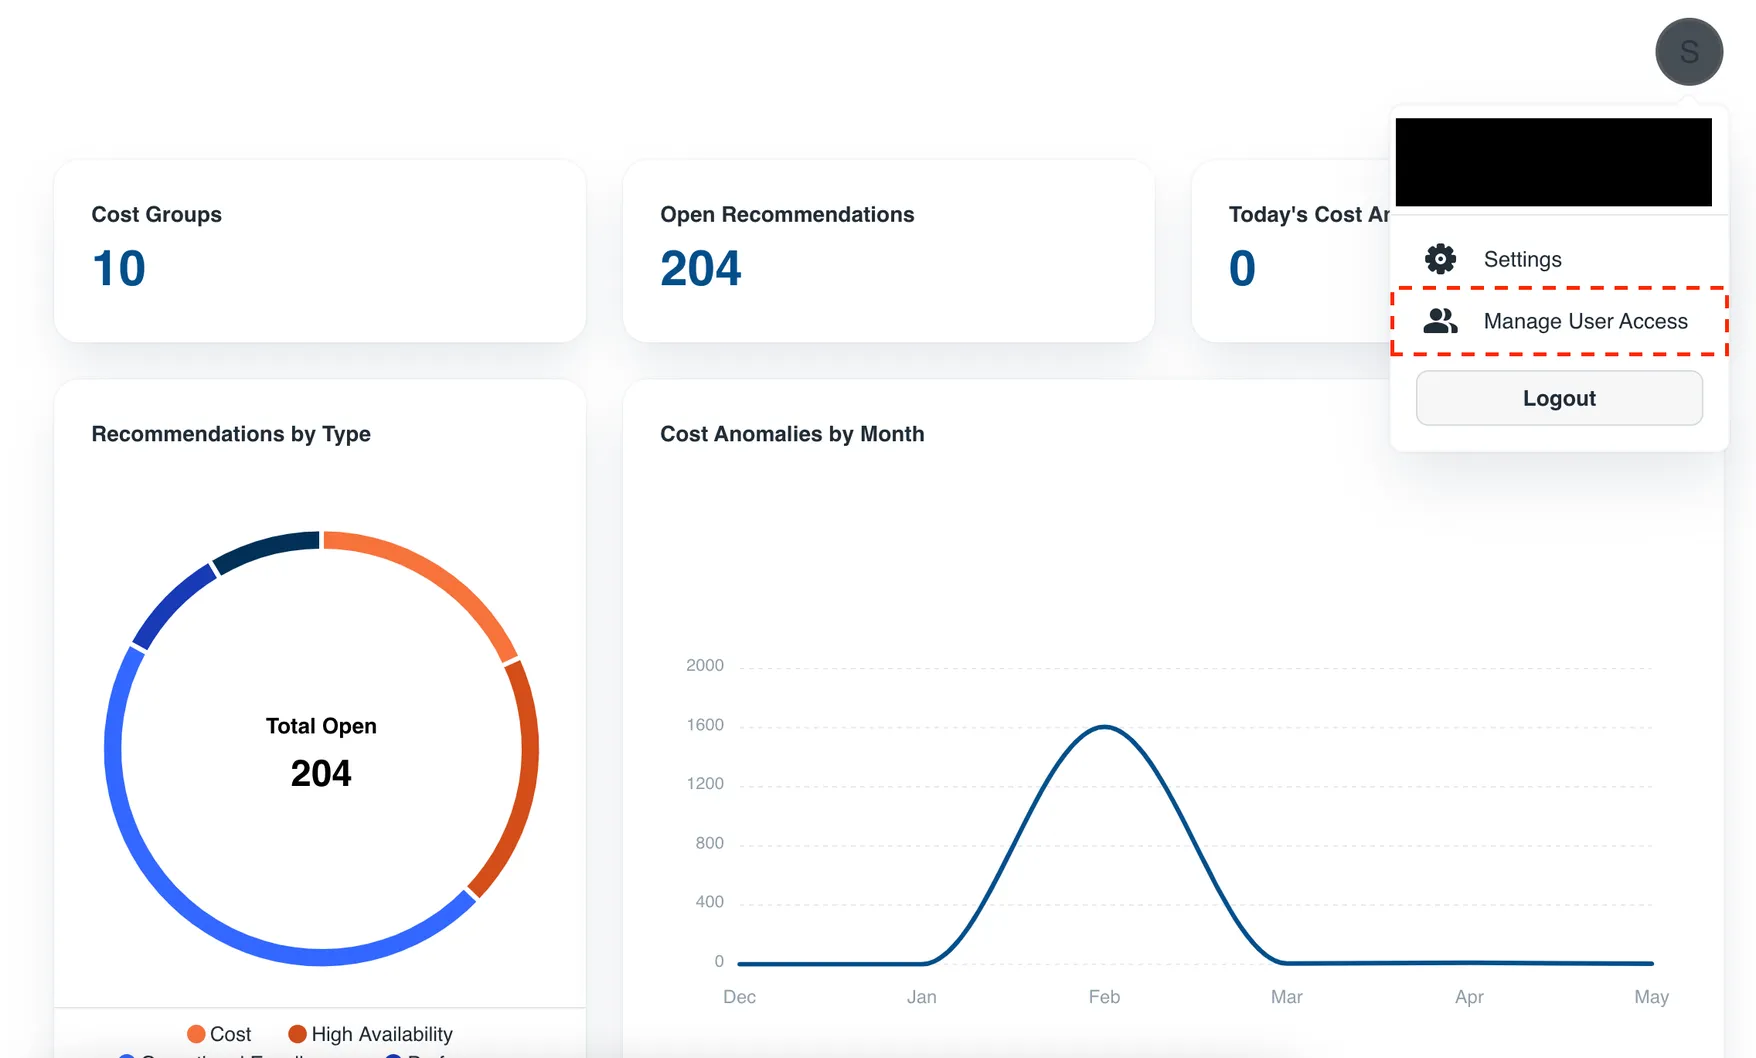
Login to the CloudMonitor Admin Application, and click your profile icon which can be found on the top right most part of the application. Then, choose Manage User Access .
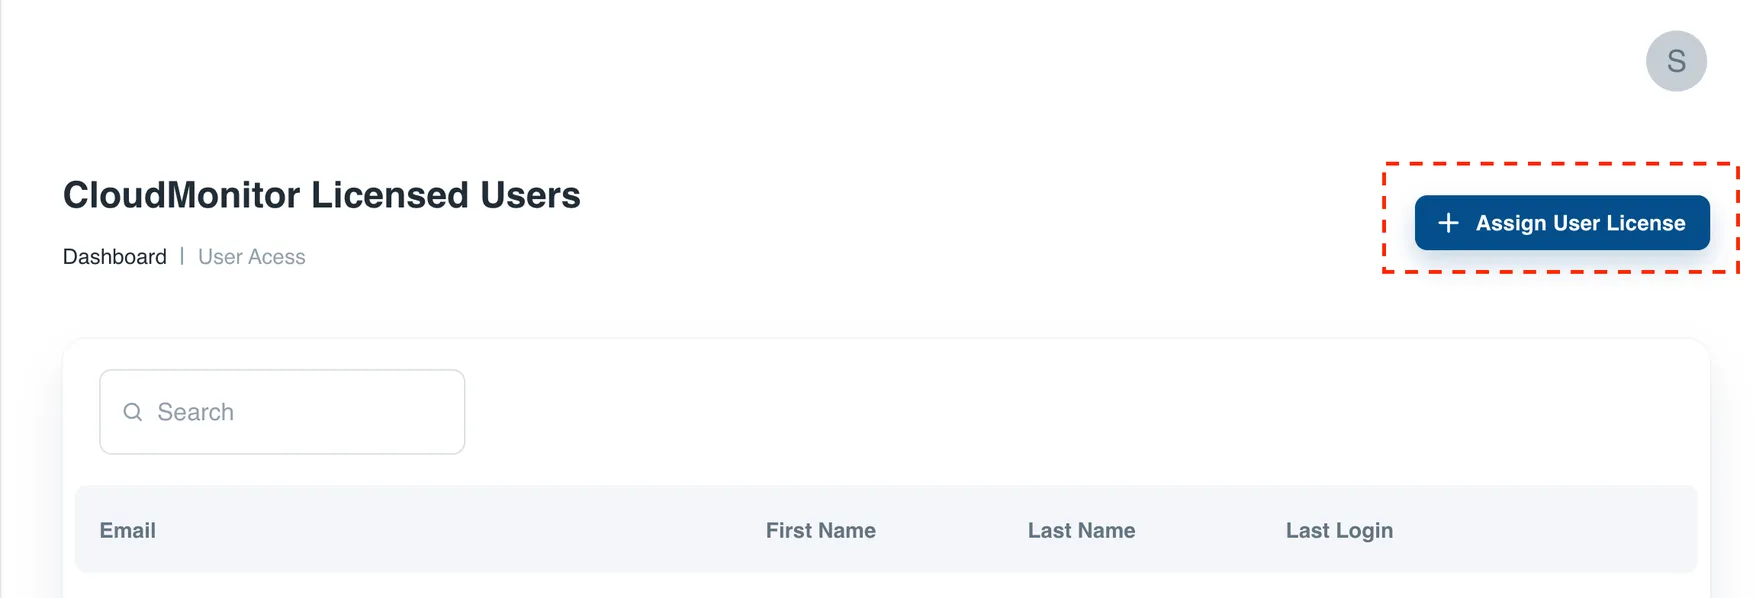
This will open the CloudMonitor License Users page where you can find the list of users that already have license. To add license to a user, just click the Assign User License button.
You will not be able to click the Assign User License if you already used all your licenses. If you need to add more user license, you may upgrade your plan. To check our different plans, please visit CloudMonitor Plans & Pricing.
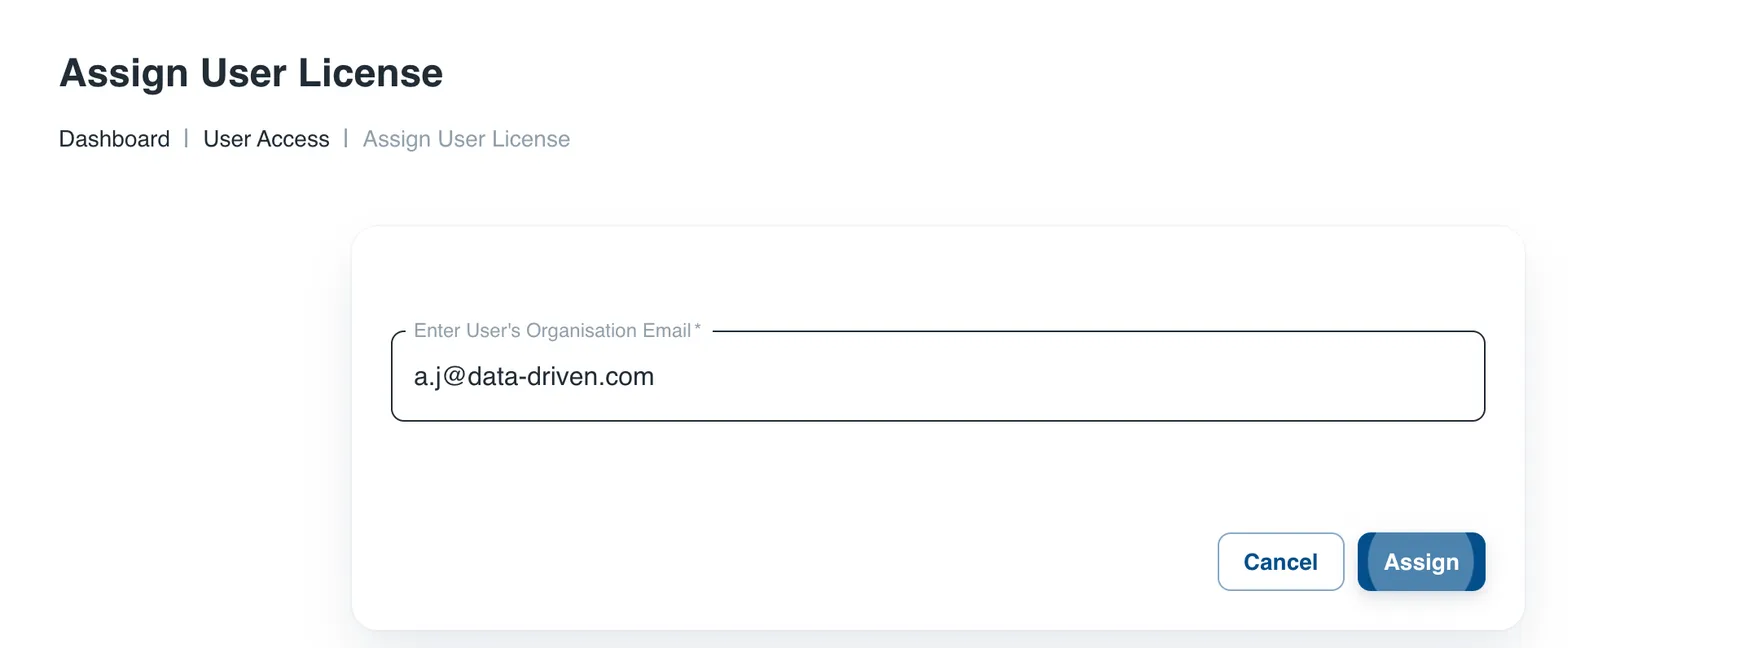
After clicking the Assign License User button, you will be redirected to the Assign User License page where you can enter the user’s organization email address.
Please ensure that you add a valid user email address.
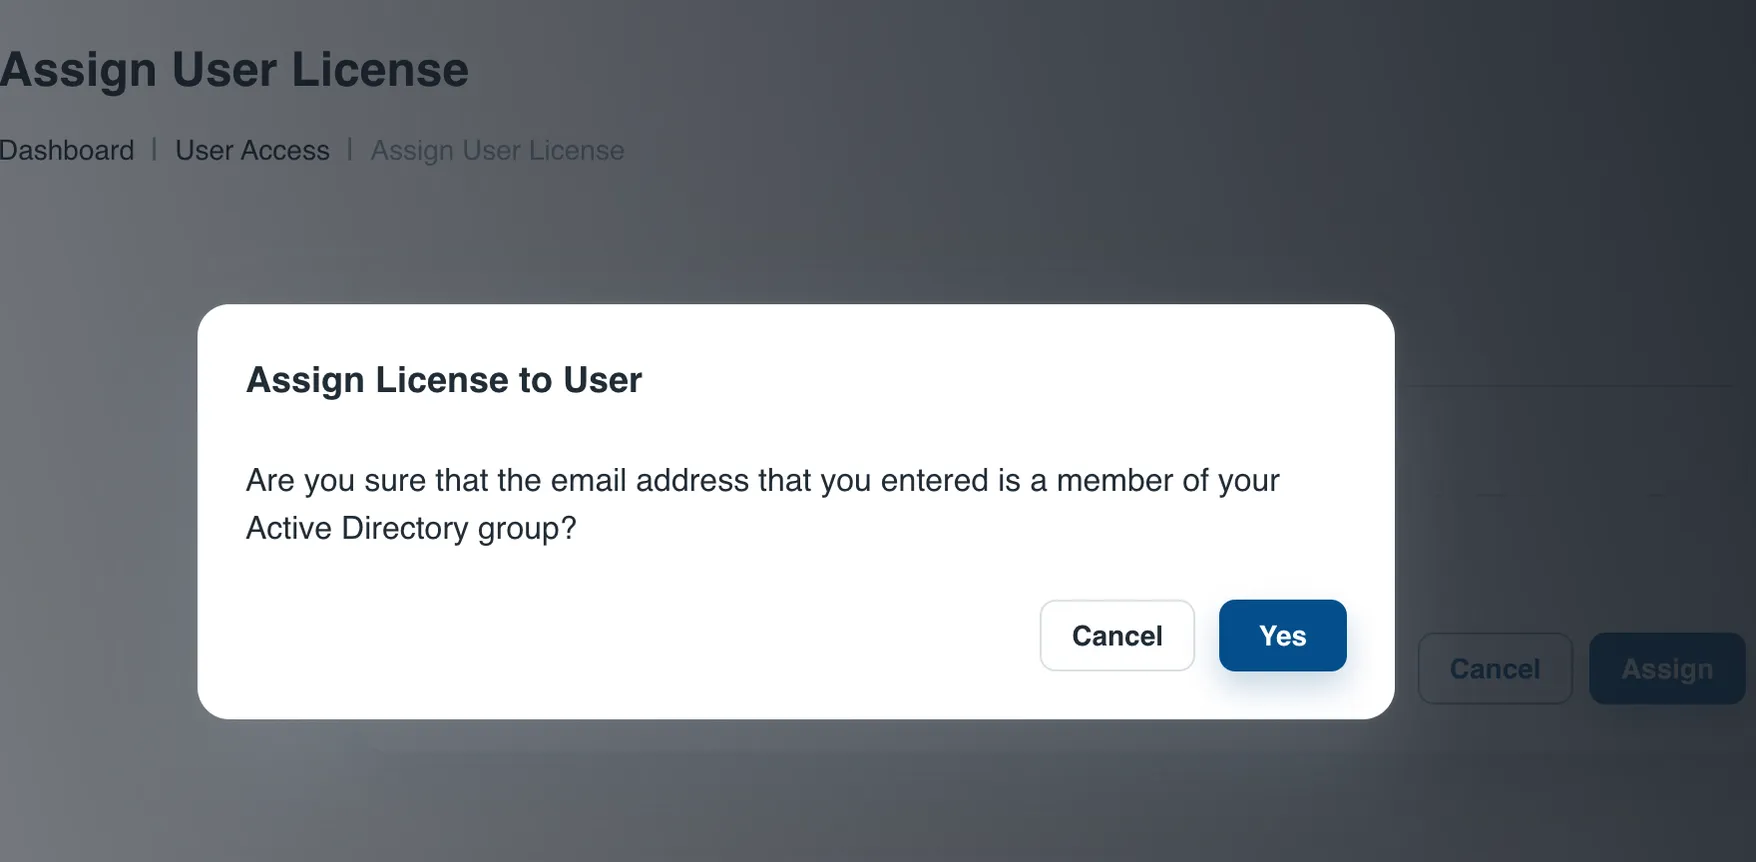
Click Assign, and the below message will prompt. Once you are sure that the email address is valid, click Yes.
You will be prompted that the license has been added to the user.
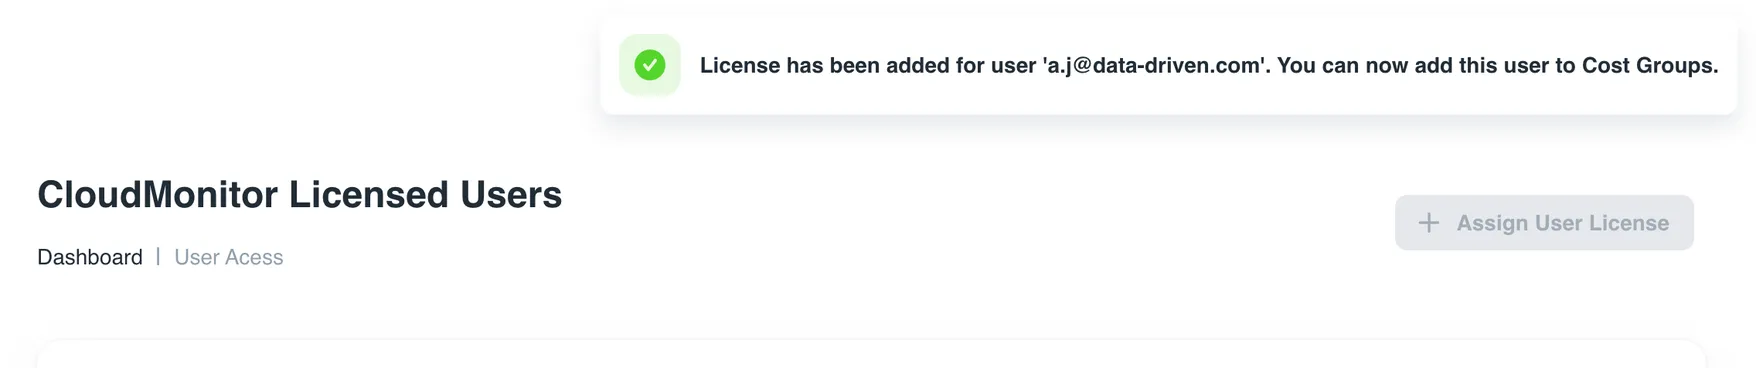
Once a license is added to a user, the next step is to determine which Cost Group(s) can be viewed by the user.
To add a user to a cost group, check the article How to add user to a Cost Group?